

Everything you need to set up, calibrate, and start streaming 3D point-cloud data from your DK-ILT001 sensor.
The basic principle of Magik Eye's 3D depth sensors is based on the triangulation method using an infrared laser and a CMOS image sensor. However, using a unique algorithm developed by Magik Eye 3D, point cloud data can be acquired at high speeds and with very low latency using simple hardware configuration.
Magik Eye Developer Kit with the ILT001 sensor, a.k.a. DK-ILT001, is a 3D sensor designed to connect to a Raspberry Pi single-board computer. It is aimed at researchers in companies and laboratories at universities who want to easily evaluate Magik Eye technology and to explore depth sensors' applications in various technical fields.
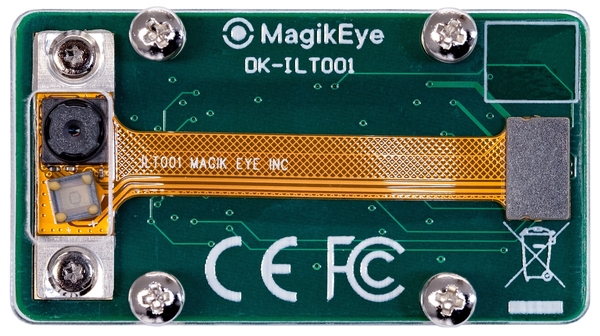
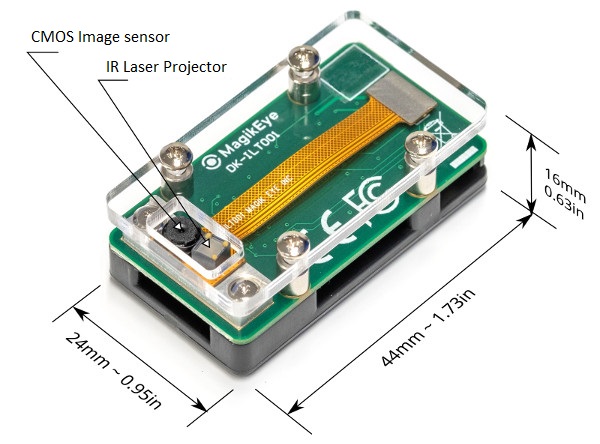
The hardware of ILT001 has laser projector, CMOS image sensor and electrical circuits for connecting Raspberry Pi.
A Raspberry Pi and a connected DK-ILT001 module are converted into a network-connectable 3D sensor by installing Magik Eye firmware and calibration data.
Machine vision, robotics, automated carriers, and many more!
Researchers, students, and hobbyists.
Download a firmware package appropriate for your Raspberry Pi type from the Download section.
Unpack the firmware image file sdcard.img from the firmware package.
Flash the firmware image file sdcard.img onto a prepared SD card (>512 MB), for example using balenaEtcher.
Insert the prepared SD card into your Raspberry Pi.
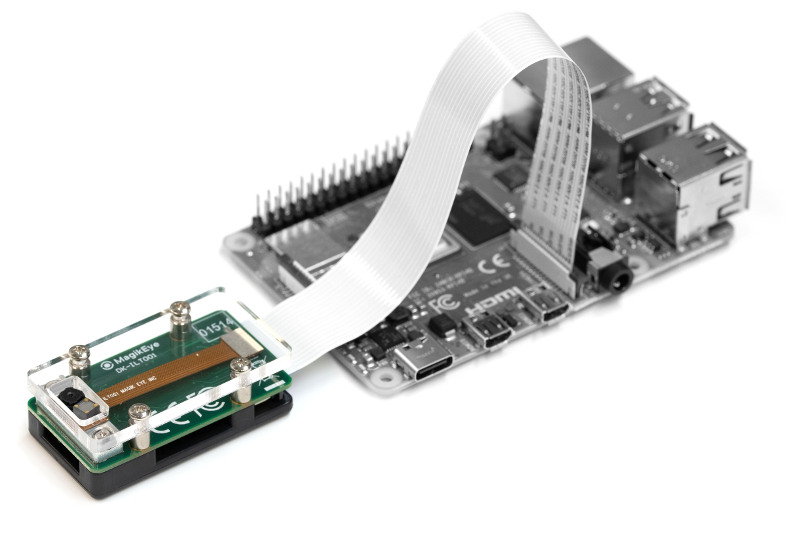
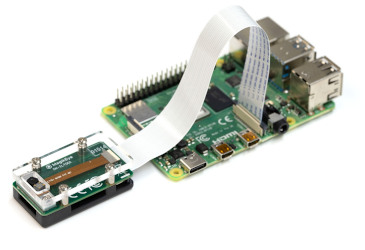
Connect the ILT001 sensor to the Raspberry Pi's MIPI port using the provided ribbon cable.
Connect the Raspberry Pi to a DHCP enabled Ethernet network.
Power up your Raspberry Pi!
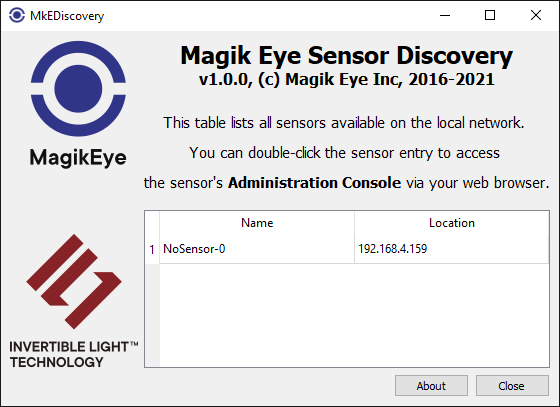
Download the MkEDiscovery utility executable compatible with your host computer from the Download section.
Install and/or execute the MkEDiscovery utility.
Your uninitialized ILT001 sensor will appear as 'NoSensor-0' in the list. Double-click on it to access the sensor's Administration Console.
Login into the sensor's Administration Console as admin/admin.
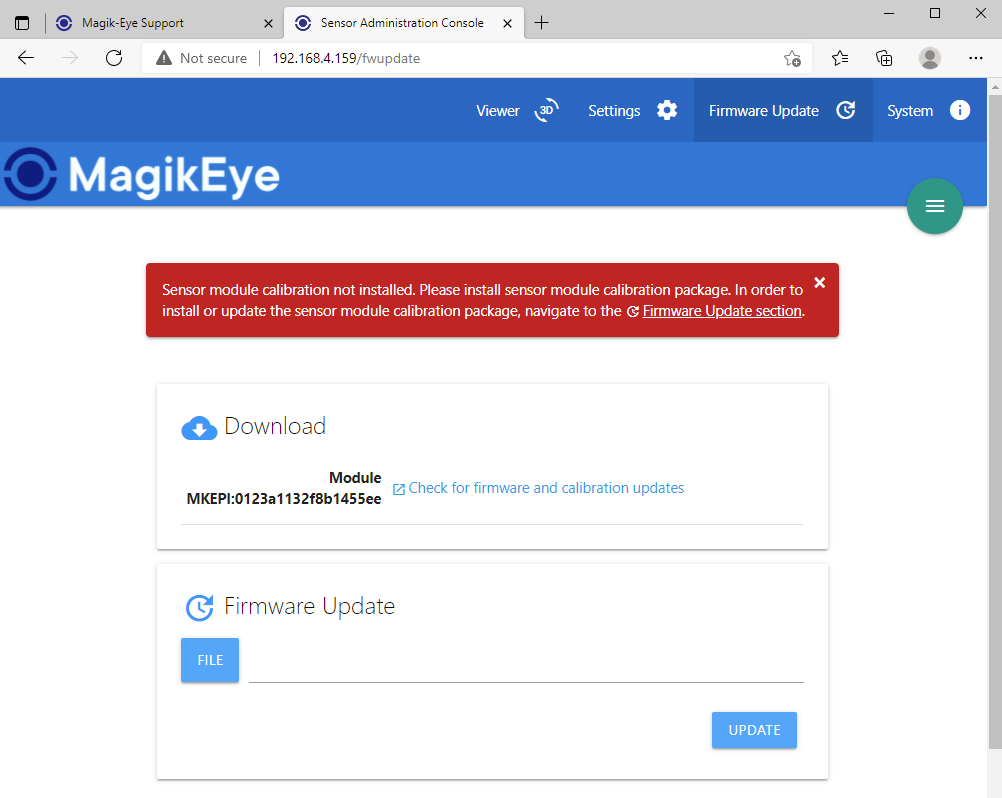
Navigate to the Firmware Update section and use the Check for Update link to enable the Calibration Package links in the Download section.
Download the latest calibration packages for your sensor to your host computer.
Navigate to the Firmware Update section of the sensor's Administration Console again and upload the newly downloaded calibration package to the sensor.
Reboot the Raspberry Pi.
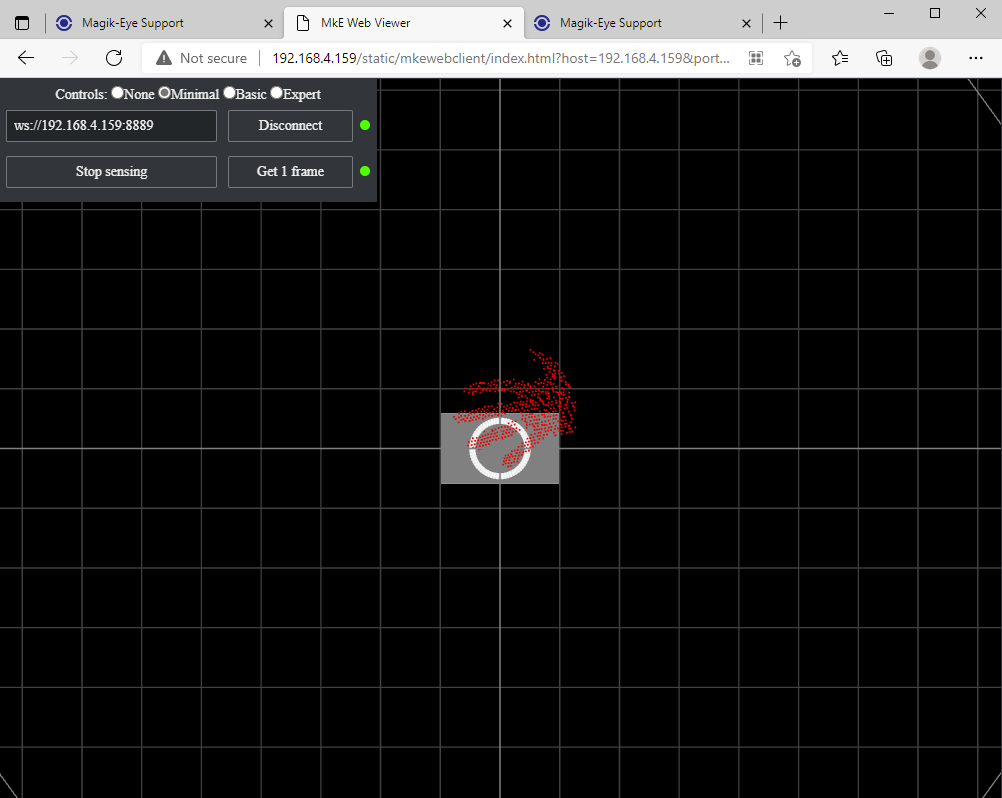
Use tools from the Magik Eye Software Development Kit to connect to the sensor and acquire 3D data, or
Navigate to the Viewer section of the sensor's Administration Console to launch the web browser-based 3D viewer.
To download the calibration package for your sensor, access the Raspberry Pi with the firmware installed by a browser and refer to the download link that appears on the Firmware Update page.
The DK-ILT001 is targeted towards researchers, students and hobbyists.
DK-ILT001 can capture 3D point cloud data of targets using custom API. MkE SDK to implement this API in several programming languages is publicly available.
The Retailer will replace the unit at the initial defect.
Instead of a Warranty, we will simply replace the unit at the initial defect.
Returns will be handled via the Retailer whom you purchased the unit from.
DK-ILT001 is intended only for commercial use. Its use is not permitted for weapons, medical, aerospace, etc, purposes. (It is also prohibited to resale the unit to others).
Yes, we are open to this option, please contact us directly via email.
Hardware: ILT001 (the depth sensor), 15pin flex cable. Raspberry Pi is not included.
Software: Software is not included on a physical medium. Please download the firmware for Raspberry Pi from the Download section. All client software is available as part of MkE SDK.
Power supply: Power supply is not included as it is not necessary. Power is delivered by the Raspberry Pi via MIPI I/F.
The customers are expected to have a working knowledge of the Raspberry Pi single board computer.
ILT001 uses 850nm infrared light.
Laser Classification : Class 1 ((EC60825-1(2007)、FDA:2110463-000)
Currently, Raspberry Pi models Zero W, 3B, 3B+ and 4 are supported.
Since the ILT001 sensor is factory calibrated, any change to the physical setup of the sensor will result in the inability to deliver correct 3D data. Please do not touch any of the optical components (including the laser projector).
The depth detection range is fixed in this product.
Ethernet or WiFi can be used as the physical network layer. The point cloud data stream is transferred via TCP protocol.
No. ILT001 can't function under the direct sunlight. Also note that the sensor casing is not waterproofed.
The temperature of Raspberry Pi becomes high when ILT001 is used. We would strongly recommend to add either heat sink or cooling fan on Raspberry Pi.
Once Raspberry Pi is booted with a micro SD card that MagikEye firmware is flashed on, sensor calibration package needs to be downloaded and installed. Please refer to the Installation section.
You can download the firmware and sensor calibration package from the Download section. All client software is included in MkE SDK.
No personal information is collected nor user registration required.
Yes, the firmware itself is based on GNU/Linux and is open source. However, the MagikEye runtime libraries are a proprietary software for which rights are reserved.
No. Custom changes to the MagikEye firmware are not supported.
ILT001 supports point cloud data output only.
For support-related issues, email support@magik-eye.com with details and screenshots. Our team helps with setup, calibration, integration, and custom configurations.
Email support →